Shared by Ruti Merom
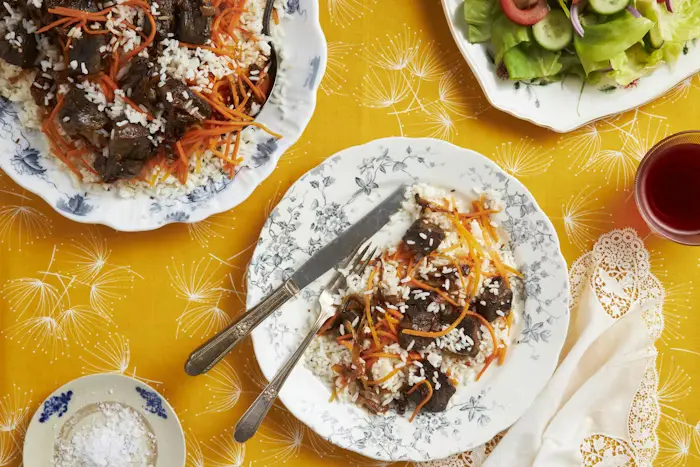
This recipe was shared by Ruti Merom. Read more about her family in "A Fourth Generation Bukharian Plov Simmers in Haifa" and try her recipe for Bukharian plov.
Mix the yeast, ¼ cup of the water and the sugar, in a small bowl and let it sit for 5-10 minutes until bubbles form and it doubles in volume.
Start the filling: Place the chopped onion, mixed with the salt, in a colander, and set aside for 30 minutes to allow for the onion to release its liquid.
Make the dough: place the flour in the bowl of a stand mixer fitted with the dough hook attachment. Make a well in the center of the flour and pour the yeast mixture in. Add the oil and the remaining ¾ cups of water. Mix on medium for about 4 minutes or until the dough is evenly combined. Then, add the salt and continue the kneading until soft and smooth, 4 more minutes.
Transfer the dough to a lightly floured work surface, and knead by hand until you have a uniform round ball of dough. Lightly oil the bowl of the stand mixer and the dough itself and place it in the bowl. Cover with a clean kitchen towel and set aside to rise in a warm place for 1 hour or until doubled in size.
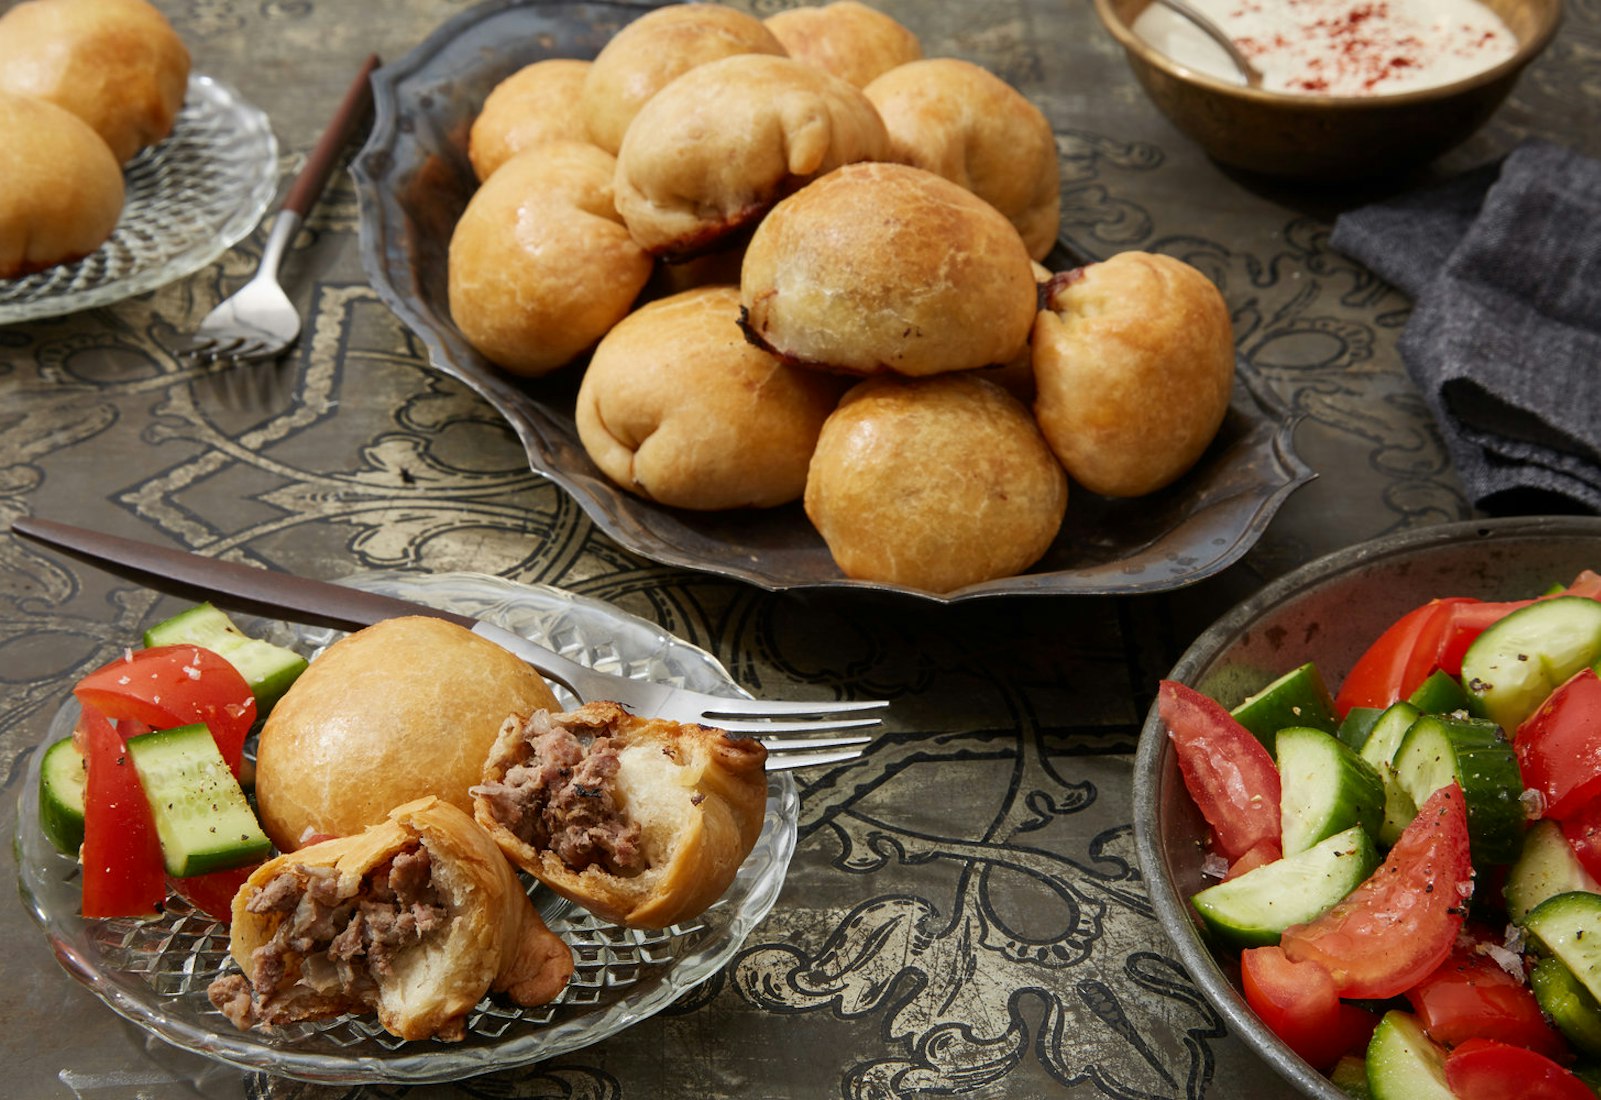
Make the filling: squeeze as much liquid as you can from the onion and place it in a medium bowl. Add the meat. With dry hands, crush the cumin seeds between your palms while adding them to the bowl. Knead the meat and onion mixture together until evenly combined, cover, and set aside to rest.
When the dough has risen, knead by hand again on the work surface, divide into four equaly parts with a knife or dough cutter, gently flour and return to the bowl. Cover and let rest again for 10 minutes.
Preheat the oven to 375°F and line two baking sheets with parchment paper.
Take one portion of the dough and roll it out on the work surface until thin and even, about ⅕” thick. Be patient as the dough will be very elastic and it might take some persistence to get it to the right thinness.
Cut 5” diameter circles (with a custom cutter or a bowl) in the rolled dough. Place a heaping spoonful of filling in the middle of each circle. Making sure your fingers are dry, take the rim of the circle, close it in half over the filling and pinch the dough together at the seam gathering it into a little pouch on the underside of the pocket. Twist the gathered dough to form a small knot (similar to a dumpling). Place it knot side down on the baking sheet, pressing down gently to flatten a bit. Continue with the other circles (leaving about an inch between them - they don’t rise much at this stage). Gather the leftover dough and place it back in the covered bowl to rest. Repeat with the remaining dough portions. Gather the leftovers and reroll until all the dough has been used.
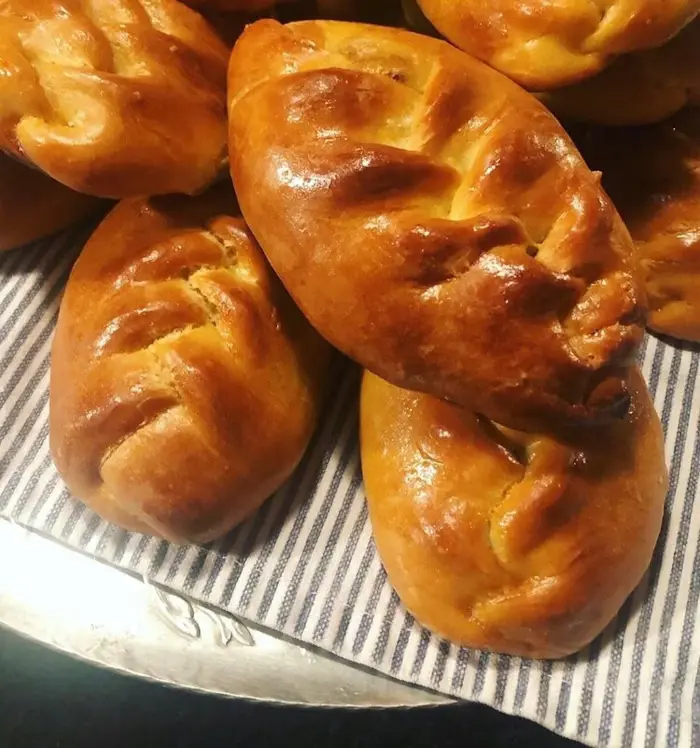
Brush the pockets with the whisked egg, and place the first sheet into the oven. Bake until browned, 35-40 minutes (Ruti always bakes the first tray while rolling and stuffing the second tray).
Let cool before serving. The baking creates an air pocket between the dough and the filling that is perfect to fill with Tahini sauce or vegetable salad (though it’s really delicious without any additions at all).
Make Ahead:
You can assemble everything ahead of time, and keep in the fridge for a day, or in the freezer for longer. Heat slowly in a 250°F oven.